

Hidden inside Billabong Canyon is a gorgeous little waterfall plunge pool with crystal clear water and a wild vibe. The sculpted canyon walls tower above the pool which keeps it entirely concealed from the small swimming hole below. Climbing up into the pool feels like you’ve suddenly been let into a well kept secret, which only adds to the allure.
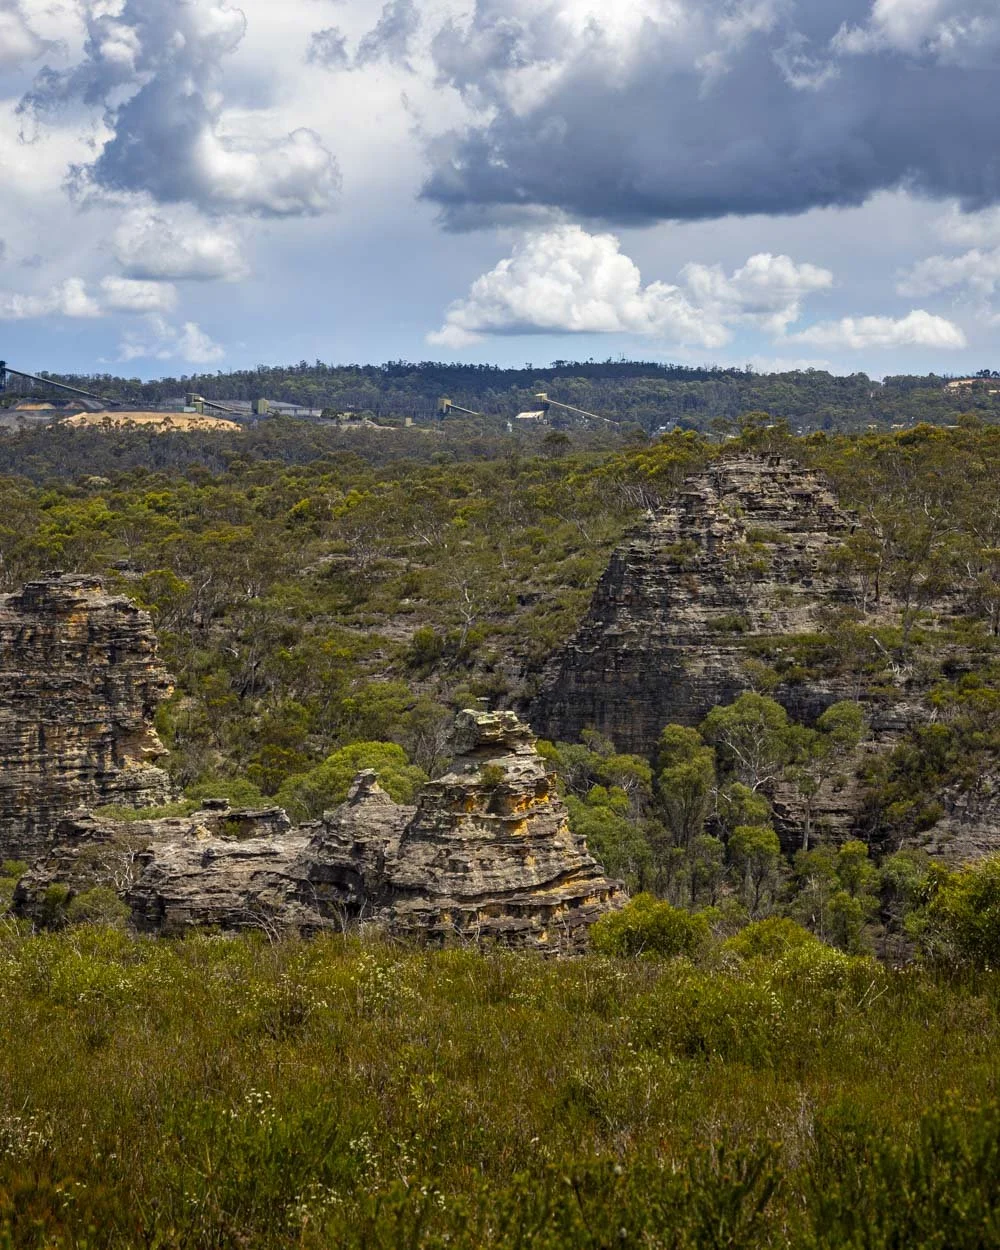
To reach the canyon, you’ll walk through stunning scenery, with endless pagodas and even a huge fern covered cave.
Here’s how to find Billabong Canyon and what to expect from the trail.

The walk to Billabong Canyon
The stats
Distance: 4.7km return
Elevation gain: 125m
Difficulty: Easy - moderate
Summary: If you can get to the nearest parking area to Goochs Crater, then the walk to Billabong Canyon is very short. However, to reach this spot requires a 4WD and depending on the road condition, some experience with deep puddles and eroded gullies. The road condition on the way to the trail varies greatly (more on that at the end of the post) and there is a sign saying not to use the road in wet weather.
If you don’t have a 4WD, you can walk the fire trail which leads to the walking track and this will add on around 4km each way. That may sound like a lot, but it’s almost entirely flat and doesn’t actually take that long.
Once you reach the walking track, it’s generally easy and straightforward. There is a section where you’ll need to walk a few steps along a narrowish overhang and walk up and down a little bit of rocky track, but it’s very grippy when dry.
Accessing the waterfall pool at Billabong Canyon requires scrambling up a small cascade. This is not difficult and we’ll cover it in detail in the notes below.

Starting the trail: to the pagodas
As we mentioned above, there are several starting points for this trail that all depend on whether you have a 4WD and how you feel about rough sections of road. We’re going to cover all that in the road conditions section at the end of this post and start the trail notes from the area most people would park if they have a 4WD.
The coordinates for the parking area are: -33.4401616, 150.2675611. From this point, the trail heads south until you get to the edge of Goochs Crater.

You could park 850m further on as it’s still fire trail, but the road is much narrower (no room to pass anyone) and the middle of the road has a lot of raised vegetation. I would just park in the area with room for plenty of cars and walk this stretch as it’s either flat, or gently downhill and very easy.
After 850m you will reach the start of the official walking track. It’s a narrow path which is a little rocky, but in great condition and very easy to walk on.

It descends gently and though there are a couple of rocks to climb over, it’s largely smooth sailing. After 200m it takes a sharp left and after a few steps more descending, it will flatten.
It’s now either flat or very gradually downhill as you walk the clear track between low scrub. The pagodas will soon start to come into view and roughly 600m after you made the sharp left you’ll reach some prominent ones.

Towards the overhangs
These pagodas also mark where you’d want to turn off if you’re going to Goochs Crater - which if you haven’t seen it already, is well worth adding on to your walk. You can read our Goochs Crater guide here.
To go straight to Billabong Canyon, when you reach the pagodas, you need to continue left, along the well worn path with the drop down to the crater on your right side. Follow this trail and it will take you alongside the base of a second set of pagodas.

From here you want to take the path leading downhill on the left, this is at the 1.8km mark (assuming you walked that extra bit of fire trail with the high grass in the middle, if not remove 850m).
The trail now heads downhill and after 100m you will be walking alongside the creek and the path is now flat.


Shortly after reaching the water you will need to cross over to the other side of the creek. Keep an eye out for a small cairn, as just a few steps beyond it there is an easy place to cross the creek - you could cross it wherever you want, but some sections are narrower and therefore easier to hop across than others.

If you get to the point where the rock walls narrow and the vegetation inbetween them gets thick (100m along the creek) you’ve overshot the cairn and creek crossing.
These walls are directly above Billabong Canyon. It’s the place you’d head to if you want to abseil into Billabong Canyon, but you can’t walk in from here. The walk-in entry is 400m away from this point.

If you reach this point you’ve marginally overshot the cairn and you need to go back and cross the creek
To the cave
After crossing the creek (a simple step across in the narrowest parts) you will see a path leading up to a large rocky area. There’s a bit of walking on exposed rock, but it’s not too steep and very grippy when dry.

At the top of the rocky area (100m after the creek crossing) there are two possible routes.
You can either keep right, close to the rock wall and follow the overgrown track. It’s largely flat, but plants do encroach on the path and there are a couple of rocky bits, and one or two eroded patches.


We used this path on the way back, but on the way there followed a slightly longer, but better section of track. The better path is the one leading downhill to the left and very obvious - much easier to spot than the overgrown higher path. It heads downhill, but it’s never very steep and in good condition.
Both paths will take you to a shallow overhang and from here you can squeeze through the gap in the rocks into the next overhang. Unless you are quite slender, it sort of requires raising your hips up over the lip that stops it being a straight walk through - you’ll know what I mean when you see it!


Strangely, I managed to get through this bit on the way, but on the way back couldn’t quite manage it, so you can also go round the boulder to the left of the squeeze. This is close to a large drop off, so take it slowly.
From here you have a few steps through a narrow overhang with a drop to the left, before the path rounds a corner and you’ll see a huge cave (2.3km into the walk, again assuming you walked that last bit of fire trail).

This is an incredible spot. The cave is really impressive with a wall of ferns lining the middle, but it’s the view that makes it even more special.
It looks out onto a sea of tree ferns, gigantic boulders and looming pagodas. It would be a cool spot to walk to in its own right, even if you weren’t now just a matter of metres away from Billabong Canyon.


Climbing into Billabong Canyon
To find the canyon walk through the cave and continue round into the next overhang - it’s only a few metres.

When you reach the end of the overhang, you’ll see a small pool and cascade. Billabong Canyon sits above the cascade at the far end of the pool.
For us there wasn’t a huge amount of water in the falls, so expect it to be more like a proper waterfall after heavy rain.
The water level in the pool was chest height at the deepest point when we visited. However, the majority of the pool was shallower, so you didn’t have to swim, but you are going to get soaked!

Once you’ve crossed the pool, you’ll find some rock ledges that you can step up on to, to stand at the foot of the cascade. I thought it was going to be quite slippery climbing up the falls, but it was actually pretty grippy - but still take care.
The cascade is made of two small sections: the bottom which requires using little footholds at the side of the cascade to clamber up, and the flatter green section above it.


Footholds on the waterfall
The footholds at the bottom are good and grippy. Once you’ve started, you probably have about three steps before you reach the top.

This flat bit is a touch more slippery, but there are great handholds and I found the rock outside the water channel to be pretty good and it was generally an easy climb.
Swimming at Billabong Canyon
The pool inside the slot canyon is small, but perfectly formed. There’s a little overhang to the right which has a good ledge where you can sit and take it in if you don’t want to get straight into the pool.

The water was a beautiful deep green, I thought the pool was really shallow until I got in and was out my depth - it’s crystal clear.
The swirling canyon walls are stunning and the waterfall, though only a delicate ribbon on our visit, was the icing on the cake. It really is a spectacular plunge pool.

Though it’s deep, it’s definitely not big enough to actually swim. It’s very much a plunge pool.
Getting in and out the pool is very easy and though there are a couple of logs inside the water, you could see them clearly, so there wasn’t much chance of getting jabbed.

If you are lucky enough to visit on a sunny day - particularly towards the middle of the day - you can get some gorgeous shafts of light in the canyon.
Though we went on a day when bright sunshine was predicted, it sadly didn’t materialise. Despite this, it was still stunning and very atmospheric, even without the light beams.

When you’re ready to leave the pool you simply retrace your steps. I thought getting down the cascade might be harder than getting up, but it turned out to be straightforward due to the good hand and footholds.
Keep them wild
Please remember to take all rubbish with you and keep these places wild and pristine - as with anywhere in the outdoors. It’s important to leave them exactly as you found them so they will remain beautiful for generations to come.
Litter tends to breed litter, so if you do spot any and are able to pick it up and dispose of it outside the area, it will go a long way to keeping the area clean.
Canyon safety
Canyons can be dangerous environments in the wrong conditions. Never enter a canyon if it’s raining or rain is predicted as flash flooding is a real risk and it can happen very quickly.
There is limited phone signal around Billabong Canyon, so it’s advisable to carry a PLB incase of emergency. We carry a GME personal locator beacon, which has the added benefit of working globally. You can check this one and others on Amazon.
The road to Billabong Canyon as of 2024
No part of the last 9km to the trailhead after turning off The Bells Line of Road (Chifley Road - B59) is sealed, but it’s the final 4km (once you turn right off the Old Bells Line of Road) that is in bad condition. Well parts of it are in bad condition, the vast majority is good, but sadly the worst parts are early on.
The road might be regraded in the future, but for now, the first few hundred metres are good before you hit a couple of eroded gullies. We’ve visited three times in the past month and the gullies get a little worse each time due to all the rain.
A 4WD can get through it in dry weather, but on one of our visits we got caught out with an unpredicted storm and some of the dirt turned to a clay like consistency. We managed to get our car out, but it took a few goes. I would not recommend driving this road during or soon after rain.
A few hundred metres past the gullies you come to a huge puddle which fills the road (though there is a walkers route to the left which is fine). Joe walked through this puddle several times and it was always above knee height and the bottom had gone sludgy.
Experienced 4WD drivers will be able to get through this part, but that’s certainly not us, so we decided to park in a lay-by a few metres back from this puddle and walk. If you want to do the same, we parked at these coordinates: -33.4432006, 150.2386572 (you still need a 4WD to get here as you will have come through the gullies).
If you park here you need to walk an additional 3.5km each way to get to the parking area we mentioned above. This took us 45 minutes and was tedious, but easy.
If the puddles are gone, but you don’t like steep rocky hills, you can park about 1.2km before our recommended parking area (the turn off from the main fire trail), which is what we did the first time we visited Goochs Crater in our AWD as we were nervous about the hill.
Those with a 4WD and experience can get all the way to the trailhead, though we recommend parking 850m before to avoid that last narrow section of road.
If you don’t have a 4WD at all, you can drive comfortably along the unsealed section of the Old Bells Line of Road, which is in excellent condition (and always should be as it’s graded regularly and logging trucks use it) and then park before the fire trail (it’s this point on Google Maps). This would add approximately 4.3km walking each way to reach the trailhead, but it’s almost all flat, so you could do it in an hour or slightly less.
Getting to the Billabong Canyon trailhead
Billabong Canyon is located in the Gardens of Stone State Conservation Area in Newnes. It’s 140km from Sydney, but takes longer than the 2 hour 20 minutes that Google Maps suggests due to that road. It’s around an hour from Katoomba.
This post may contain affiliate links, meaning at no additional cost to you, that we will earn a small commission if you click through and decide to make a purchase. This helps towards the costs of running our website. Thanks for your support.


