
If you’re looking for epic views of Half Dome and fancy a trail that’s away from the crowds in the Yosemite Valley, the North Dome hike should be high on your list.
You can access this trail from the Tioga Pass Road when it’s open, but during the long snowy period the road is closed and you’ll have to make the hefty climb up from the valley floor.
We hiked in summer from Tioga Pass making it a fairly easy walk by Yosemite standards. The hike takes you through a pretty forest before heading to North Dome, for stunning views of some of Yosemite’s icons.
The North Dome Hike: the views from the top
North Dome Hike Stats
Distance: 9.5 miles return (including Indian Rock)
Elevation: 2,000 feet
Type of trail: Out and back
Difficulty: Moderate
Starting the North Dome hike
Starting at the Porcupine Flats car park - which is pretty small, so avoid the middle of the day if you can - the hike starts on a paved path and heads immediately downhill. Once you’ve crossed a couple of creeks (there are rocks for stepping stones so you won’t get wet), the pavement disappears and you’ll be properly into the forest.

The forested section on the North Dome hike
The trail is fairly flat the whole way through the forest making for a really relaxing walk. You can take in all the sights and sounds of the forest and spot some of the many deer that call it home without having to watch your footing. We’d been hiking in the mountains for several months by the time we got to the North Dome hike and it was one of the few that offered such a peaceful section of hiking.
After a couple of miles or so in the forest you’ll reach the junction for Indian Rock, an optional side trail. Of course, we chose to check it out!
Read next: Hiking up El Capitan - the Yosemite icon and Lembert Dome - one of the quieter trails in Yosemite
Indian Rock
To get to Indian Rock, you’ll have to hike 0.3 miles up a steep hill. It’s not much, but at this altitude we’ll admit to getting slightly out of breath! You’ll soon come to an arch and rock formation with some great views to the valley on the other side.
However according to Google Maps this isn’t actually Indian Rock - if we hadn’t checked the map we’d never have realised as there’s no signage. To get to the ‘real’ Indian Rock according to Google, head up beside the first rock formation, and then continue for a few minutes along the flat path until you come to the larger rock formation.

North Dome hike: The first Indian Rock
Since finishing the hike we’ve looked at images of Indian Rock online which seem to be the first one we came to, so in all honesty we have no idea whether Google Maps is right, but nonetheless there is another rock formation behind the first!
Whilst they are pretty cool, trees are obstructing the valley views to some extent, so they are nothing compared to what’s to come from the dome.

North Dome hike: The second Indian Rock
Onwards to North Dome
Returning down the slightly slippery gravel slope to the main trail, you’ll hike for a short time before reaching a dome you could easily mistake for North Dome but you’re still over a mile away.
Keep an eye out for the rocks that have been put in a line to guide you to North Dome which is another 1.2 miles further on. There is another trail over the top of the exposed granite ridge you’ll see directly in front of you but it’s much steeper and we wouldn’t recommend it for a descent.
The official trail is an easy path through a forest to the left of you.

North Dome hike: The cairns that lead to the correct path
The path will open up to another exposed granite area where you’ll need to look out for the rocks and cairns. The path zig-zags downhill a lot before reaching a rusty sign which points you left again.
This is where things get a little tricky in one spot.
Read next: The 14 things no one tells you about hiking to Half Dome
The scramble
The scramble section isn’t long, but it was enough to put a couple of hikers off going all the way to North Dome. The trail becomes a lot rougher and steeper (downhill) before reaching this slope. There are no footholds or steps and the only way we could see to do one part was by sliding down on our backsides!
North Dome hike: The rock down to the path to North Dome
It wasn’t too bad, but we hadn’t been expecting it either! The path continues down on some smooth granite rock downhill which required a bit of care. Once more, it wasn’t hard, but it wasn’t an easy going path like the rest of the trail had been.


After this short rougher section it’s just a gradual uphill walk through the forest and onto the dome itself.

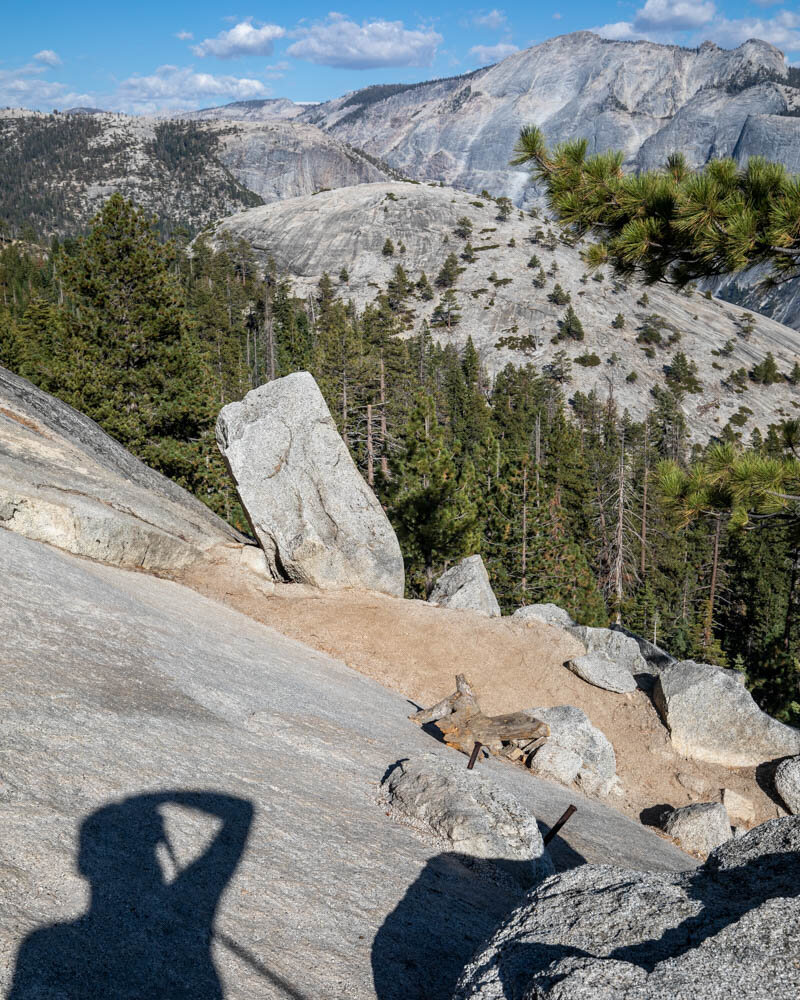
North Dome hike: The view of North Dome from the path
North Dome Views
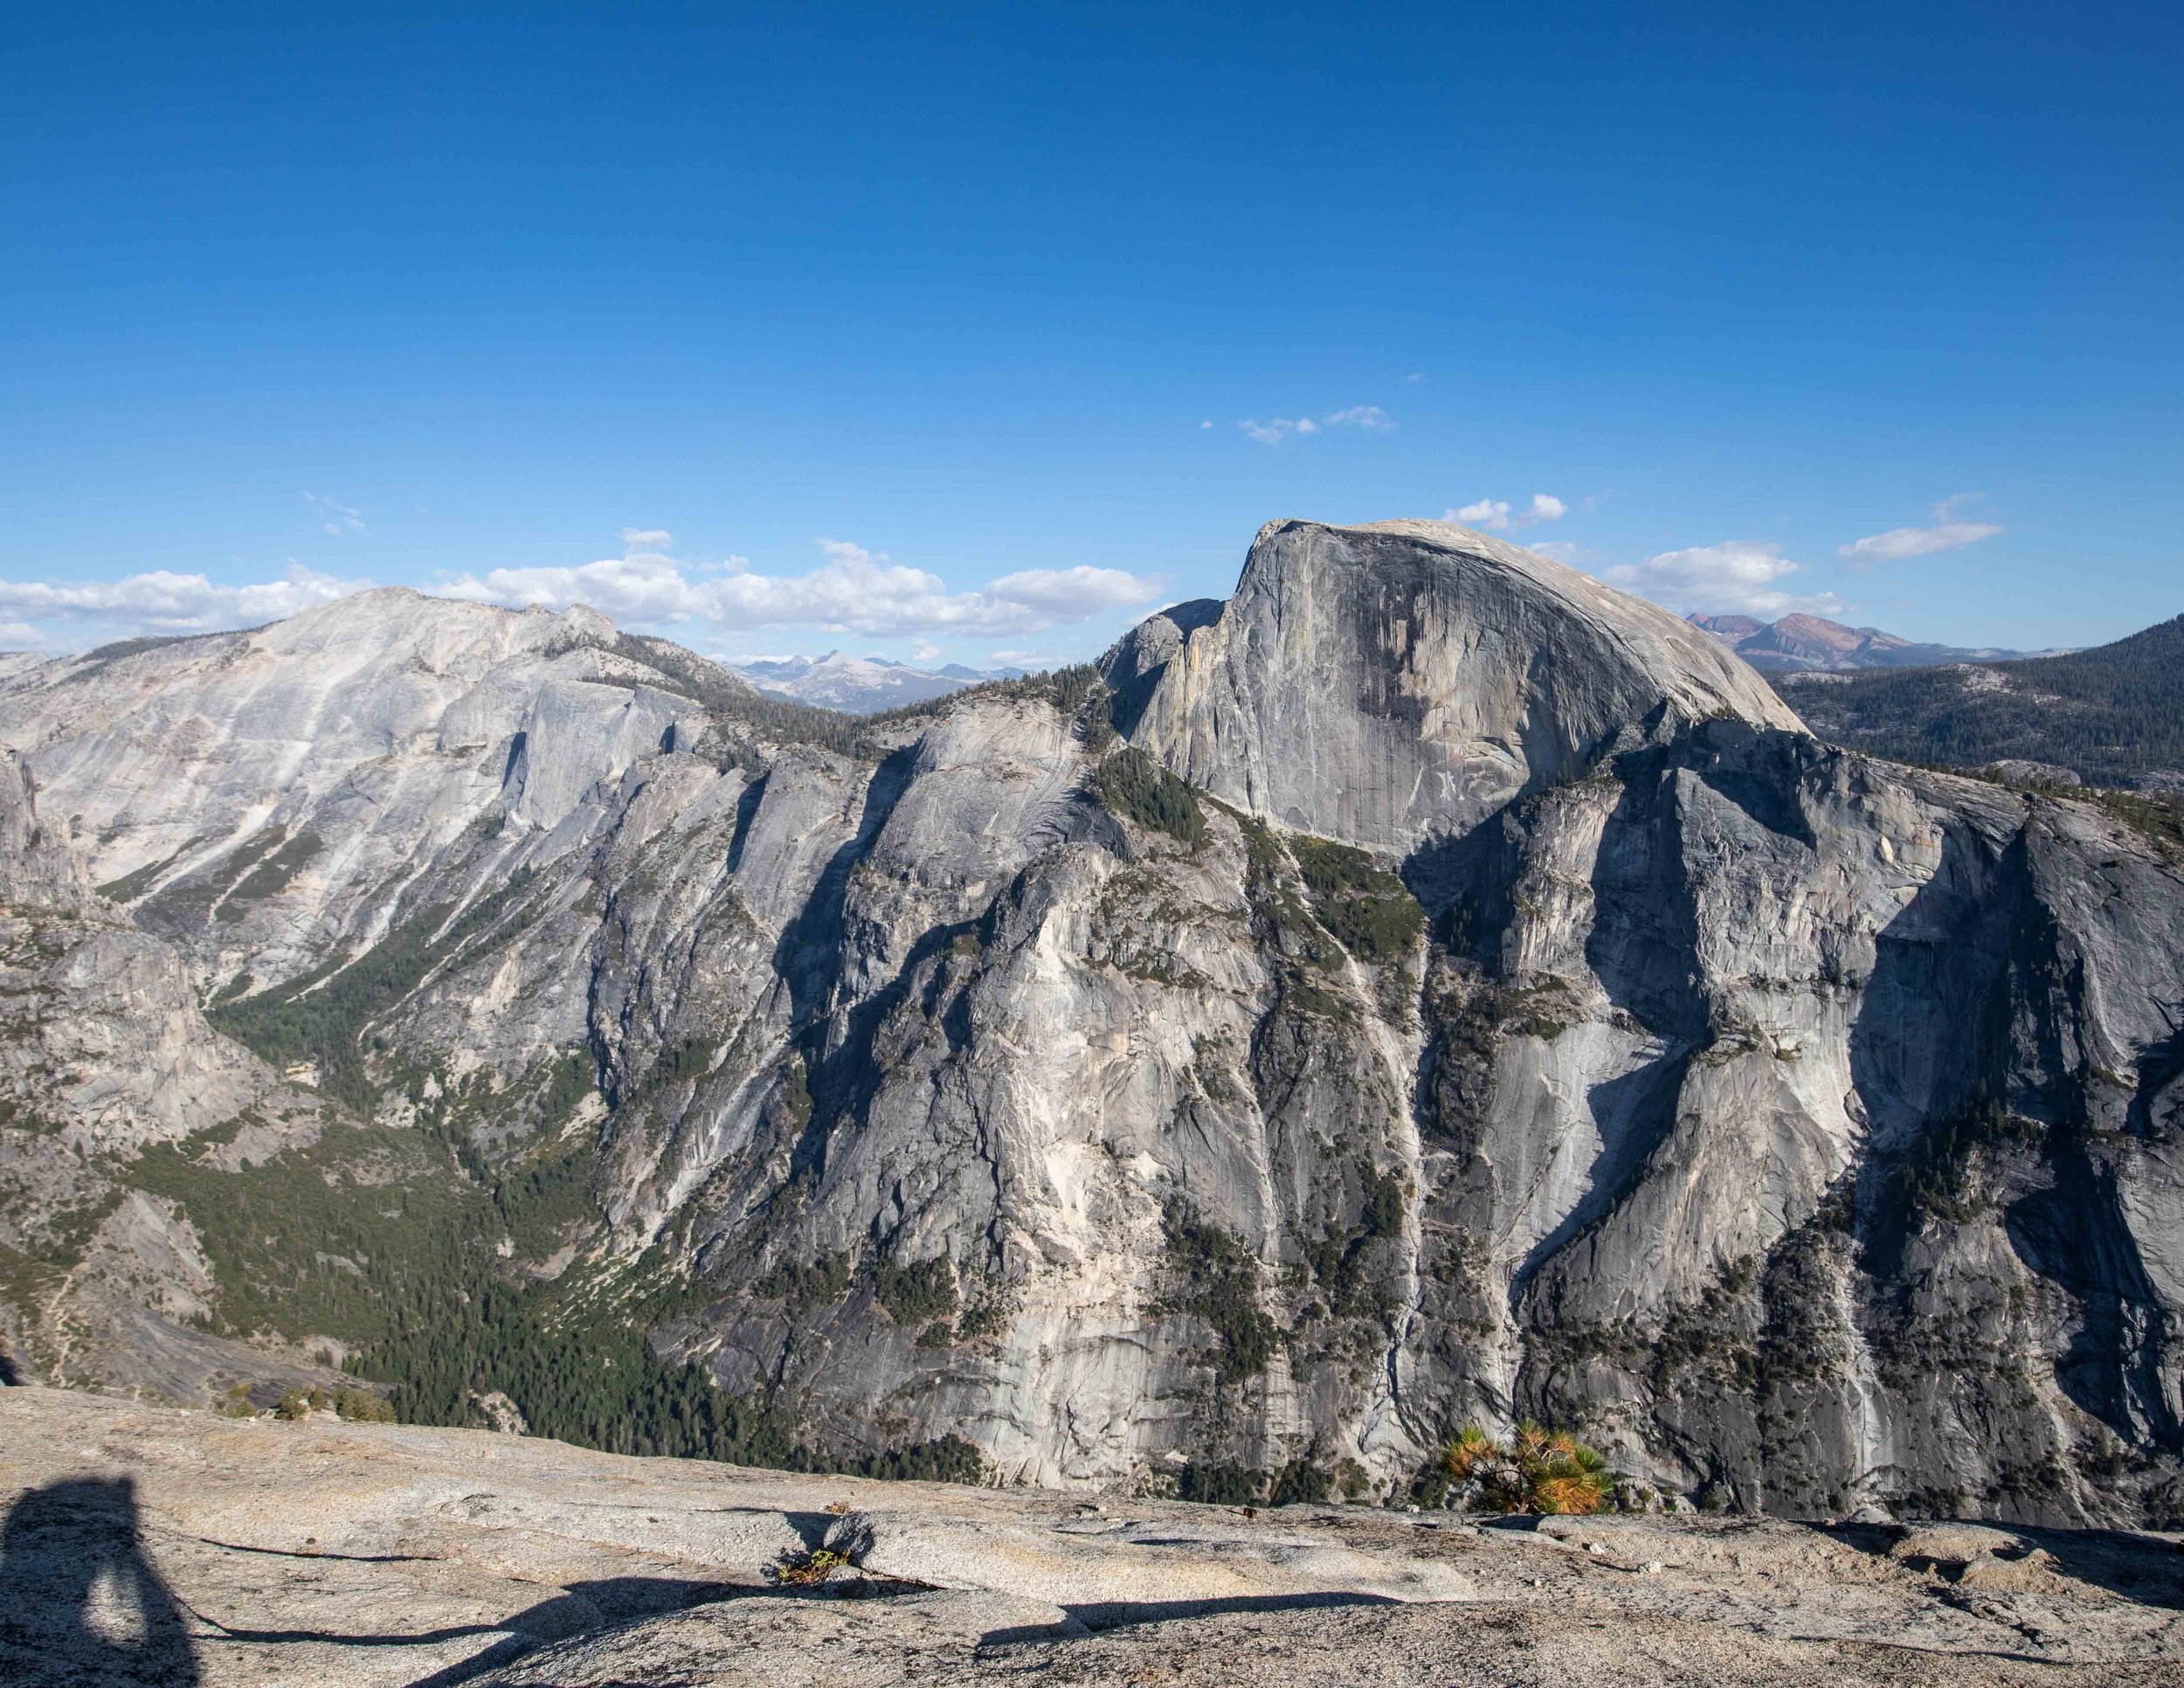
The views from North Dome are special and worth the extra effort to scramble down to see. There’s so much space and lots to look at in every direction, we were in awe. The star is Half Dome, the magnificent monolith that dominates this part of Yosemite.
From North Dome you can take it in from the base all the way to the top and be mesmerised by what nature and millions of years can create.

The final stretch on the North Dome hike
It can get very windy on top, so be careful and don’t get too close to the edge! The gusts came in really fiercely on our visit and were sometimes enough to feel like you could be knocked over.
The hike back along the scramble section is a lot easier than the way down as you feel a lot more in control and the rocks seemed grippier (if thats a word!) in this direction.
Once you’re back on the forest trail it continues to be a gradual uphill climb for a lot of the trail but the gradient is gentle, and there are some nice flat sections too.
We really enjoyed this hike and loved that we only saw a handful of other people on the whole trail, making us feel like we had one of Yosemite’s best views all to ourselves.

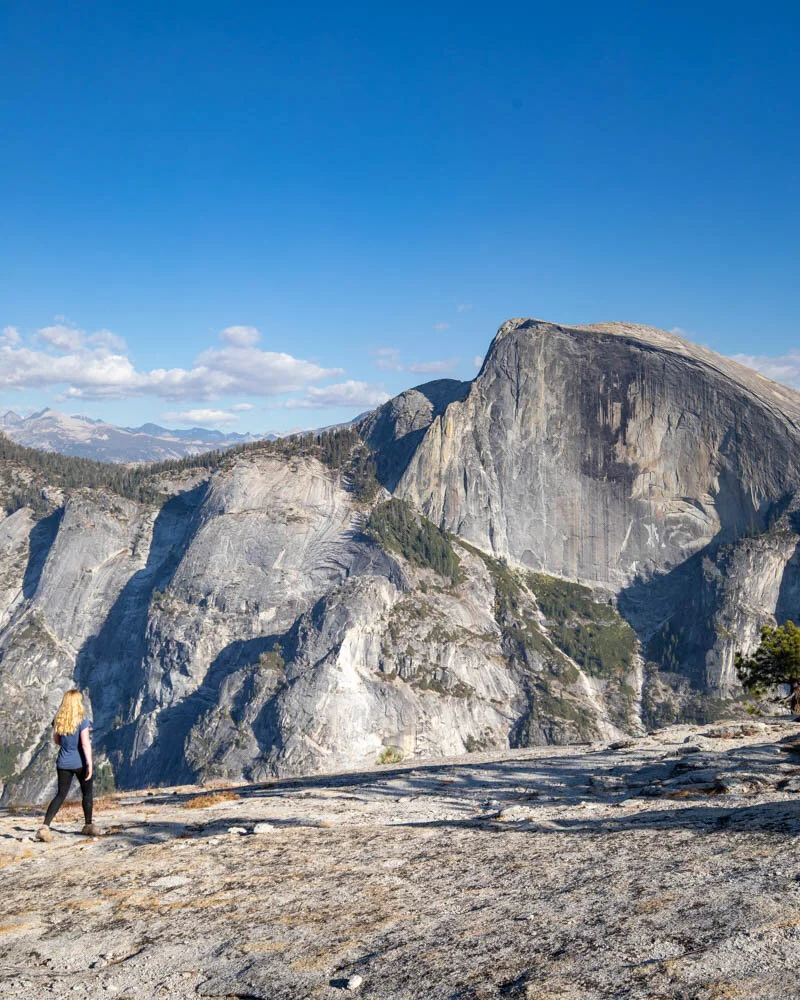
The views of Half Dome from the top of the North Dome hike
Read next: The hikes in Death Valley you need to see
Essential information about the North Dome hike
Yosemite National Park entrance fee
You can use the America the Beautiful Annual National Parks Pass to get into Yosemite (US80 per annum). Otherwise it will cost $35 for entry with a car, $30 for a motorbike or $20 per person on foot or bike for 7 days.
As the National Parks Pass is $80 for the year, it is well worth it if you plan on visiting more than three national parks in a year.
Getting to the North Dome hike
The trail for the North Dome hike starts at Porcupine Creek on the Tioga Road and is about an hours drive from the Yosemite Valley floor.
Parking is limited here, so you should try to go early or late as there is no other parking nearby.
You can climb up from the valley floor which is a longer and more strenuous hike.
Read next: Beautiful hikes in Joshua Tree National Park
Packing suggestions for North Dome
Having the right gear can make a huge difference. Here’s what we pack and have relied upon for years:
Sunscreen: North Dome has very little shade and the sun is brutal most of the year! Check for sunscreen on Amazon or REI
Day Pack: Osprey Talon 22 (we’ve owned this for years). Check on Amazon, REI or direct with Osprey
Hiking Boots: Merrell Moab (for men and women). We’ve both used these for over three years and they just keep going. Check them out on REI or Amazon
Trekking poles: We’ve used Black Diamond for years as they are light, solid and durable. Check out REI or Amazon.
Reusable water bottle: To avoid single-use plastic. Check then out on REI or Amazon
Icebreaker Base Layer: What we always wear in the winter and makes a huge difference for keeping warm. Check out on REI or Amazon
This post may contain affiliate links, meaning at no additional cost to you, that we will earn a small commission if you click through and decide to make a purchase. This helps towards the costs of running our website. :-)
Like it? Pin it!

Follow us on Social Media
Are you planning a trip to Yosemite? Would you do the North Dome hike? Let us know in the comments below!
Featured Posts


How to find the secret Fisherman’s Cave in Royal National Park and what to expect from the walk.